Brie Recipe
I will admit that there are probably much easier bloomy white cheeses to start with – and I will post some of those recipes later – but I keep getting asked about Brie. So here it is. Brie!
Before we go any further, you might have asked yourself at one time, “What is the difference between Camembert and Brie?” Well, the truth is that there is almost no difference at all. Camembert was made in France well before Brie, but they both use cow milk and they both use the same type of bacteria and molds to develop the flavor. Today, the difference seems to be that Brie is made in large wheels, which are then cut and sold to the customer in wedge form. Camembert is made using much smaller molds, and they are usually sold whole. That’s it! Now you can put on a monocle at parties and impress your friends with your vast cheese knowledge.
I like using barely pasteurized, unhomogenized milk for this cheese. I’ve recently found a brand of milk that works very well for this purpose, and it’s not as expensive as getting the stuff that comes in the glass bottles.
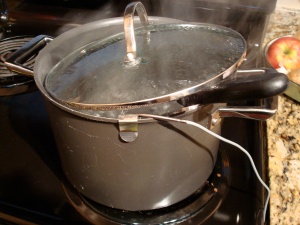
Because we will be working with this cheese for several months, it’s very important to make sure that you sterilize everything you’re going to use right at the start. I usually have two pots of water boiling when I start. The first is the pot in which I will heat my milk, and the other is for all the utensils and molds. It gives me a nice warm home to place certain items in to if I need to use them again and again, like my skimmer.
Once you’ve poured out the water and let the pot cool slightly, it’s time to pour in the milk. Slowly and very gently bring it up to 90°F. Make sure you stir it often to prevent the milk from scorching!
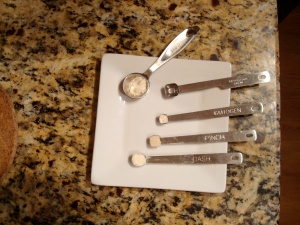
While you’re heating your milk, it’s time to prepare your cultures and additives. For this cheese, I used two bacterial cultures. The first is the simple starter that we used for cream cheese, which contains three different strains of Lactobacillus. The second culture has the same bacteria, but it also contains a bacteria called Leuconostoc mesenteroides which produces nice buttery flavors – exactly the kind of stuff you want in Brie. I also add calcium chloride to my milk, because getting the curd right is one of the most important aspects of making Brie. This cheese also requires the use of two molds: Penicillium candidum and Geotrichum candidum. I discussed the importance of these in The Bloomy Whites post.
Once the milk comes up to temperature, I add the calcium chloride first and stir it in well. Then I sprinkle the cultures evenly over the surface of the milk and let them bloom for about 5 minutes. Or at least I try to. For some reason my mold spores clumped together this time:

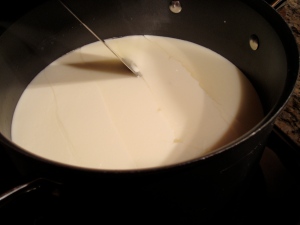
Once these are all stirred in, I let the milk sit undisturbed for an hour to ripen at 90°F. During this process, the bacteria produce lactic acid which results in a drop in pH. Professional cheesemakers use pH benchmarks when making cheese rather than time. For the home, it’s cool to use time. I will admit that I bought some pH test strips though, and for this cheese the pH started at 6.5 and dropped to 5.5 in one hour. Once the pH drops (or an hour goes by), it’s time to add the rennet. As always, it’s important to trickle it in slowly and stir for about 20 seconds. Once the rennet is added, leave the pot off the heat and leave it alone for 90 minutes.
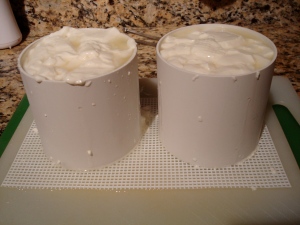
Before the coagulation time is over, it’s important to get your mold station set up. For my one-gallon batch, I used two Camembert molds. These need to be sterilized and placed on top of a sterilized draining mat. I put these on top of sterilized cutting boards like so:
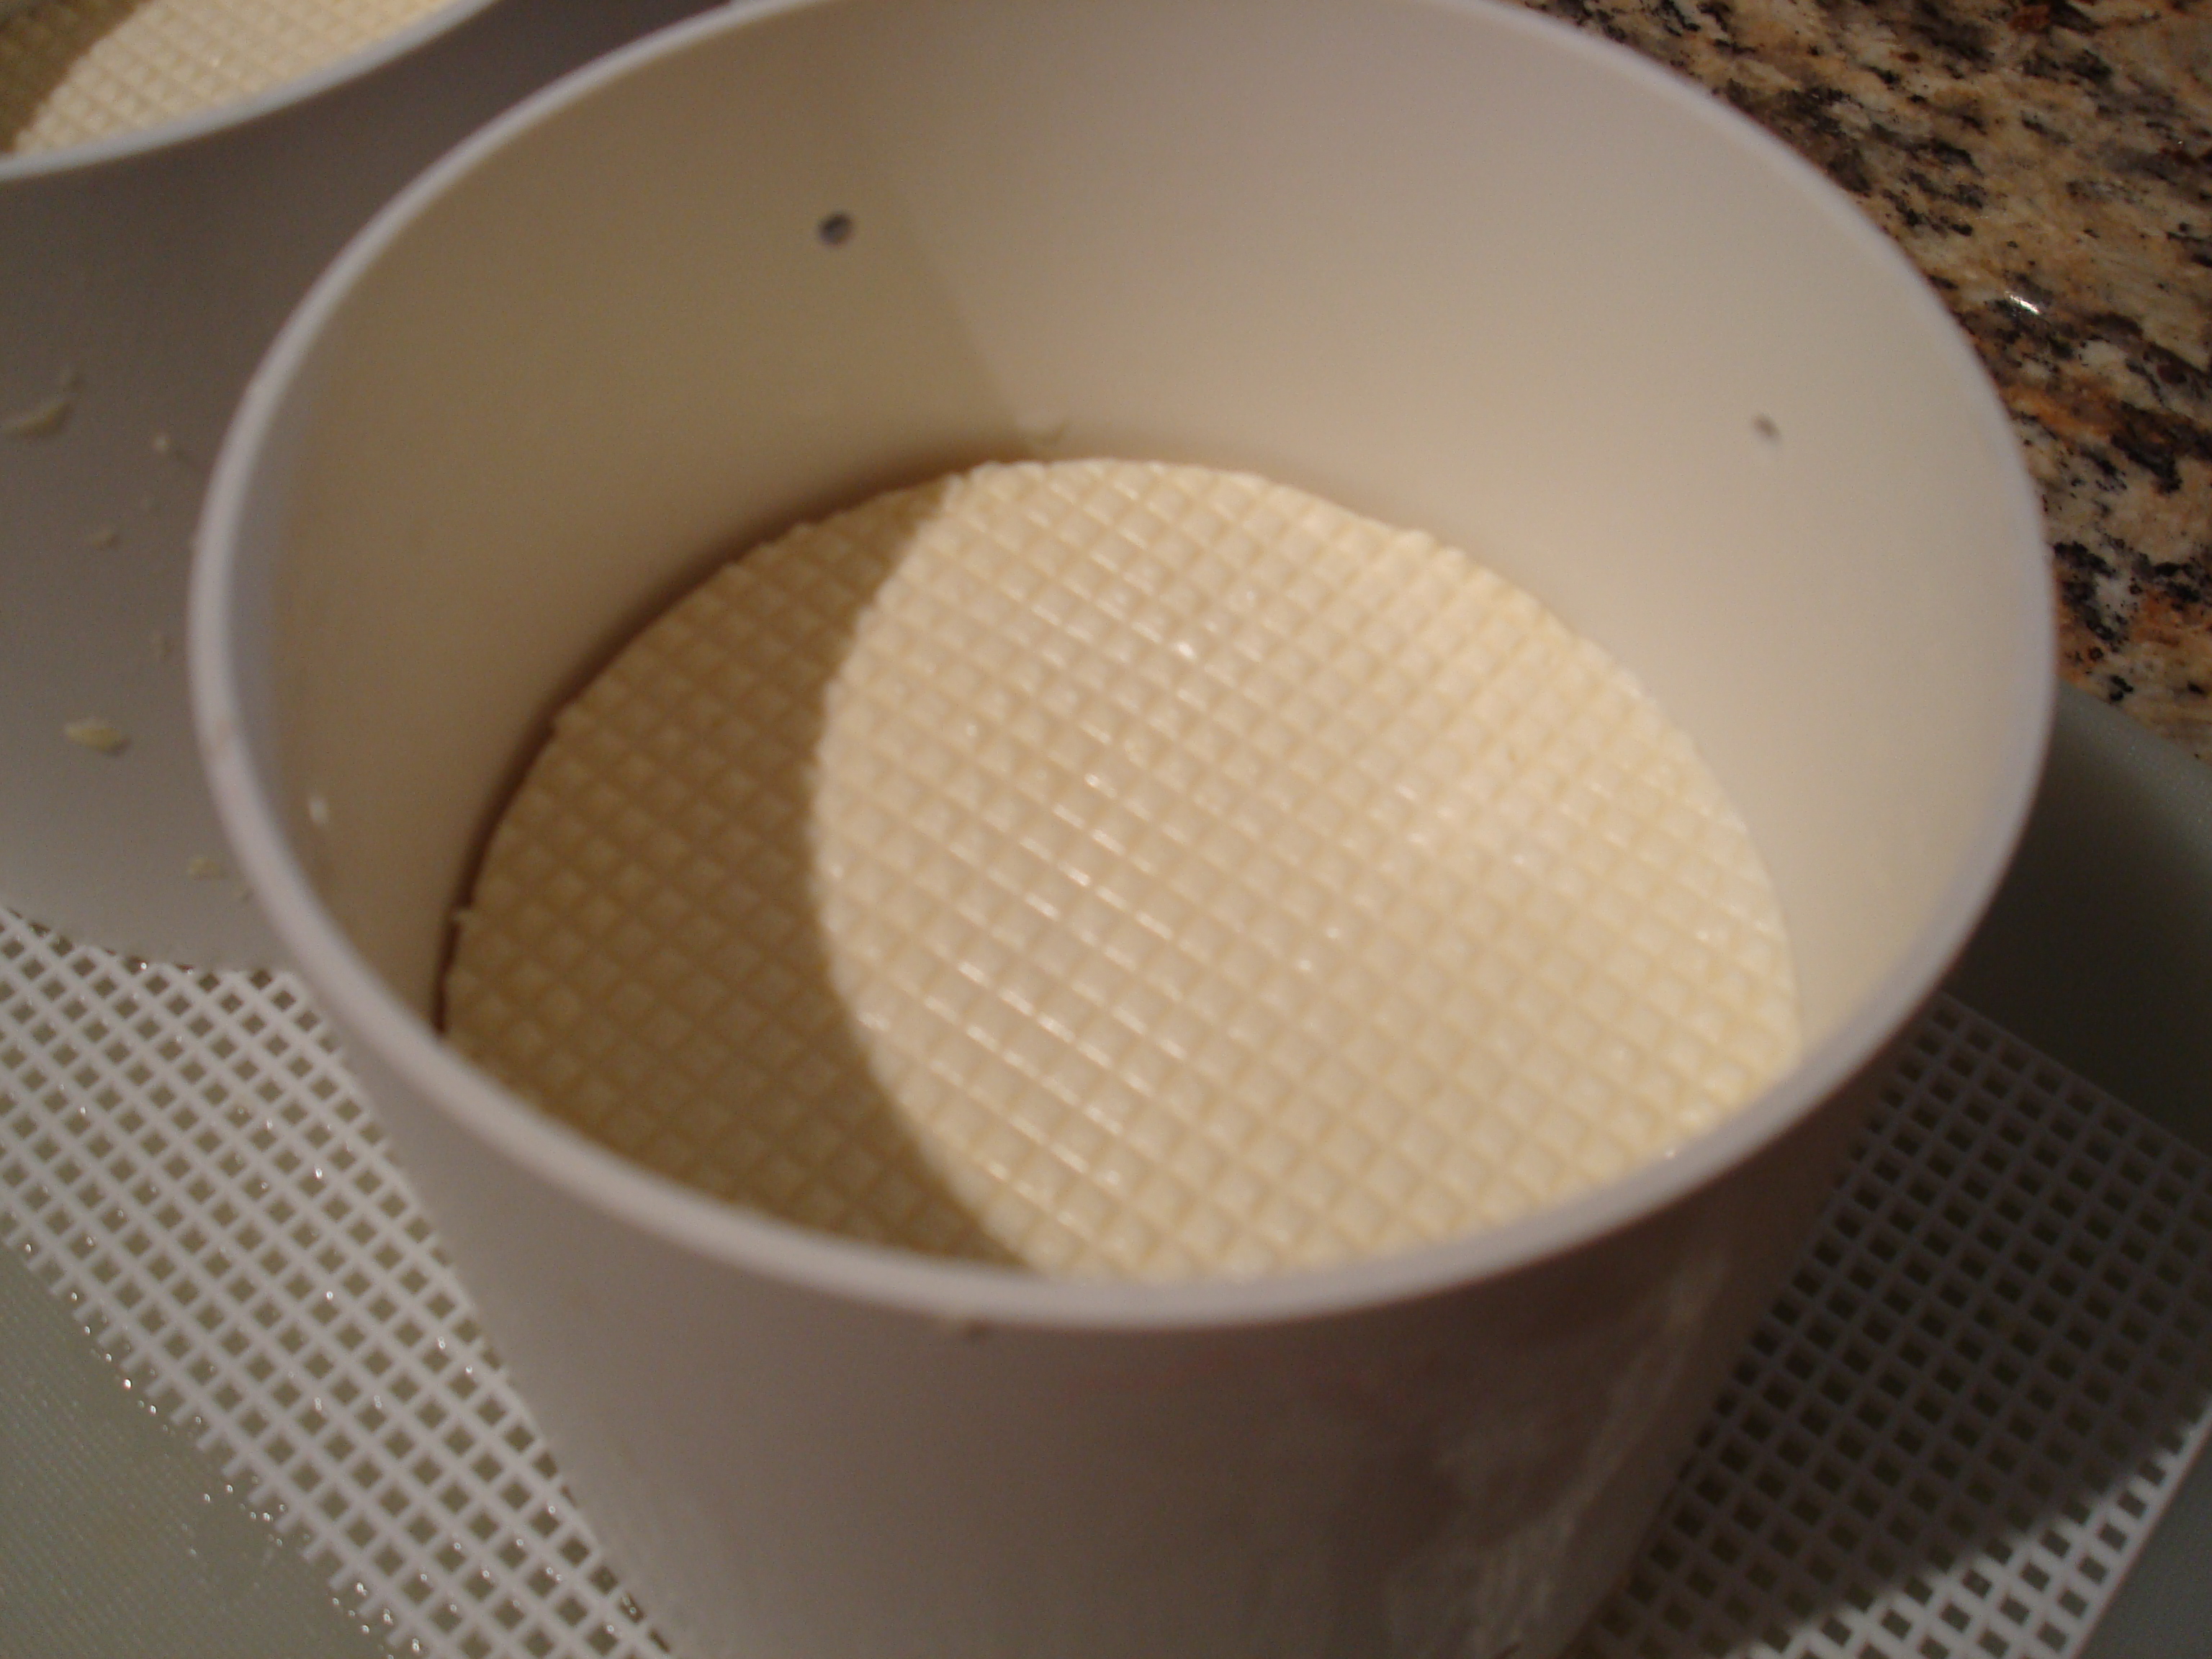
Notice that the Brie/Camembert molds do not have a bottom.
When the coagulation time is over, we need to cut the curd. I do this by using a sterilized curd knife. I first make cuts at a 45 degree angle all the way across the pot:
Then I go back across at a 45 degree angle the other way:
And finally I make horizontal cuts, leaving me with large diamond-shaped curds that are about 1″ big.
After cutting, I let the curds rest a few minutes. This helps them to “heal” so they don’t break apart when we put them in the molds.
Next, I stir the curds around a little to break them up a bit so they will go easily in to the molds.
Now it’s time to mold our curds. I can’t seem to do this without some spillage, but that’s part of what makes cheesemaking fun. Scoop the curds in to the molds so that they fill up to the top. I usually wait about 20 minutes to let some of the whey escape, and then I scoop more curds in to each mold. I always have some leftover curd.
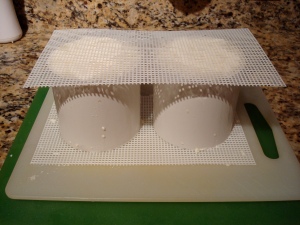
After about 20 minutes, it’s time to flip the molds. It’s important to do this relatively soon after the curds have been added, because the stuff that’s on the bottom will want to start attaching to the draining mat. If this happens, you’ll rip the skin of your cheese when you flip it – and that could lead to problems down the road. It’s not a huge issue, but your cheese won’t look as lovely if you neglect flipping shortly after molding. To do this, I place another sterilized draining mat on top of the molds:
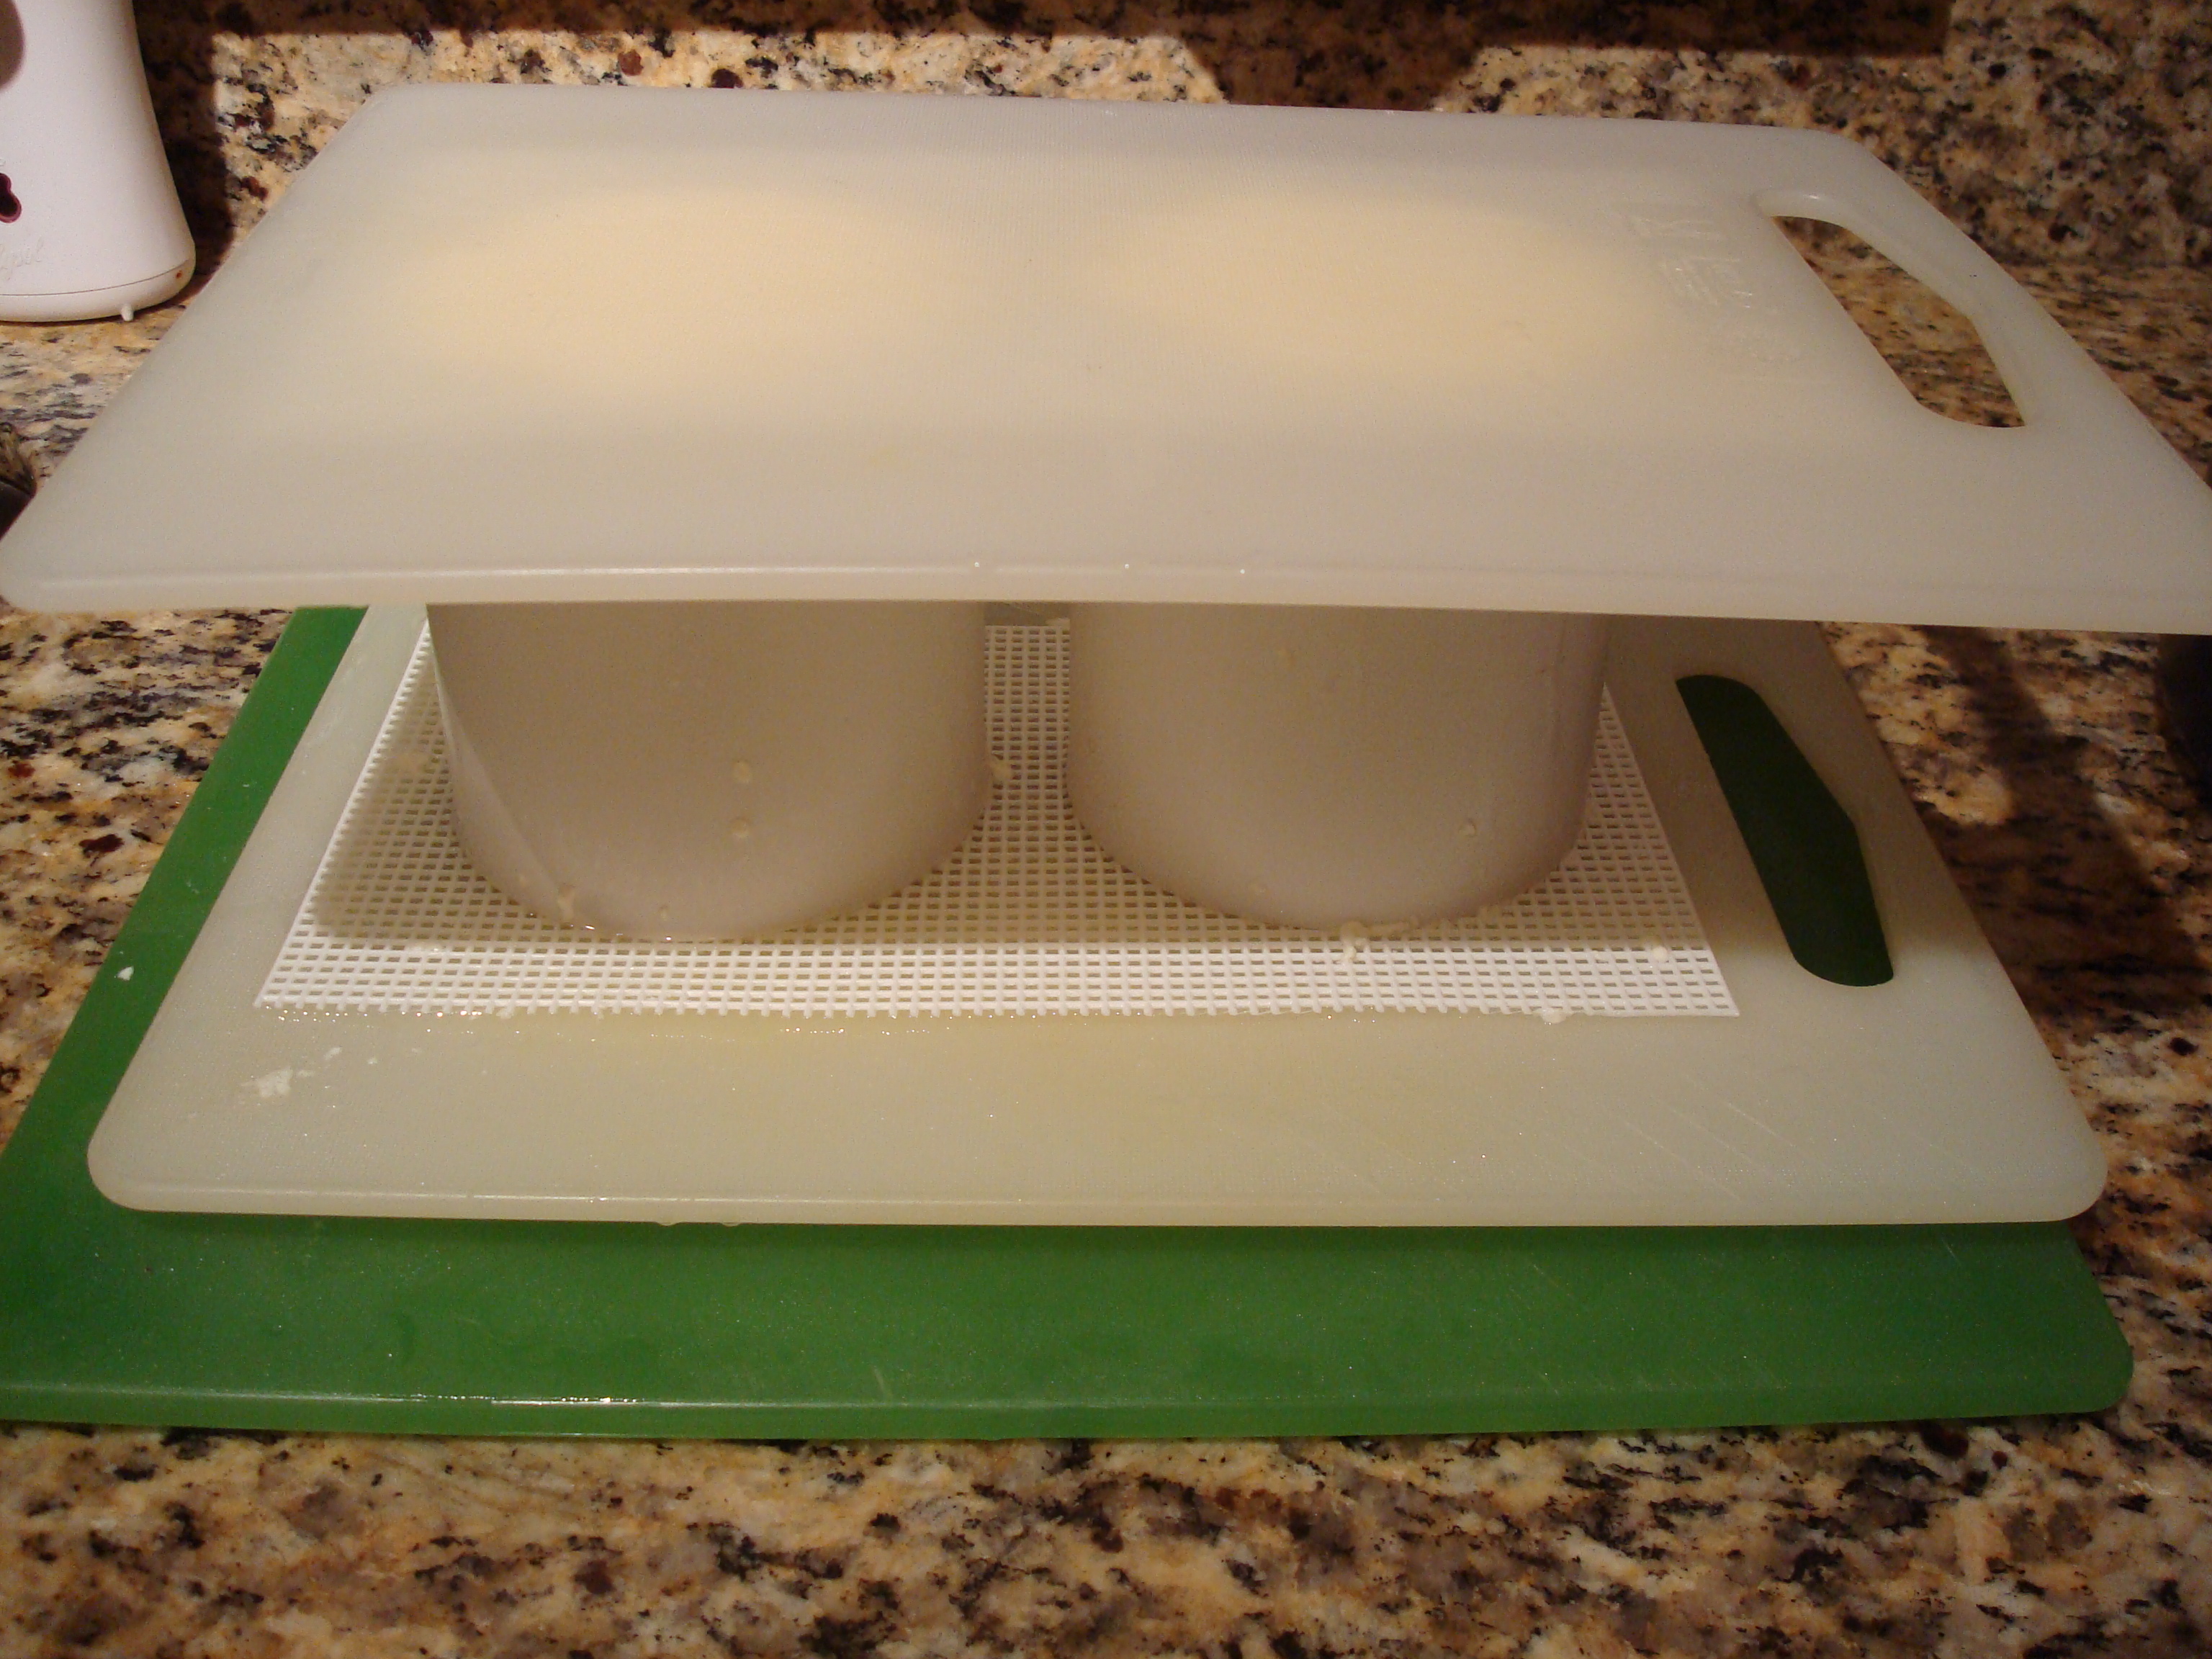
And then I place another sterilized cutting board on top of the mat:
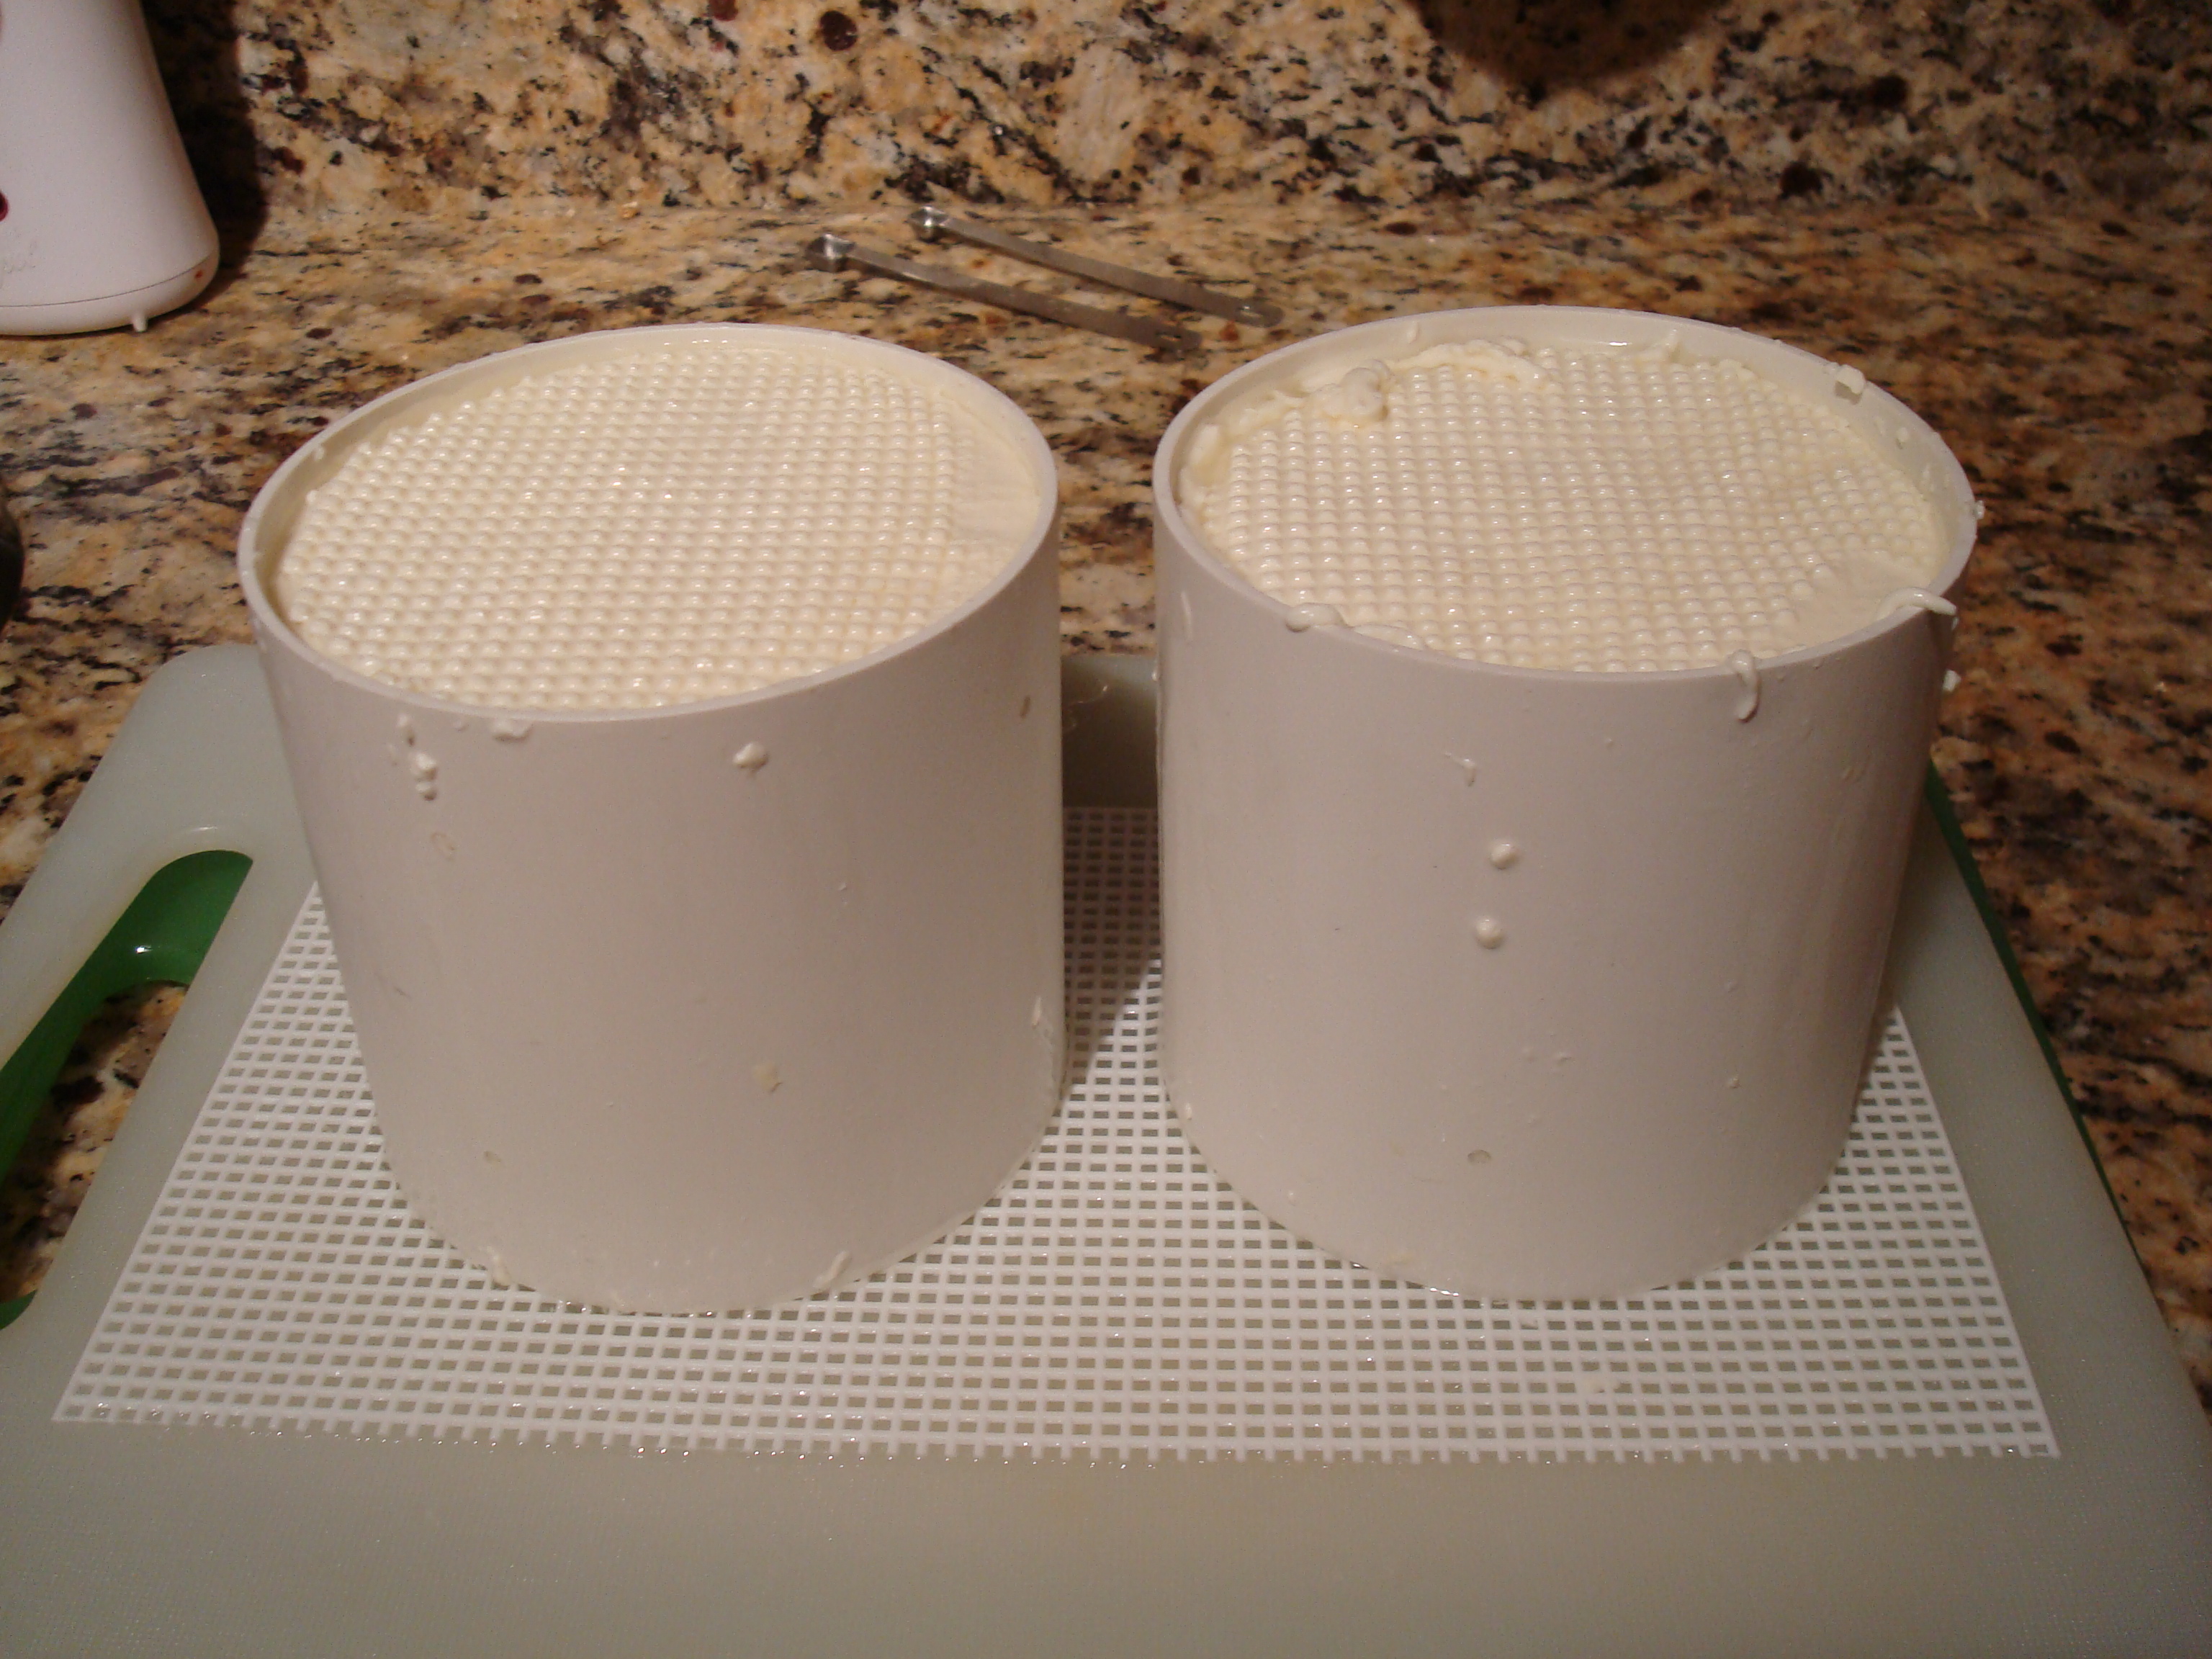
I put a rack between my bottom cutting board and the board that sits directly on the counter so that I can easily get a hand underneath. This will make your life easier. No matter what you do here, though, this first flip is very difficult. I usually end up laughing and getting a little messy. Unfortunately I don’t have a picture of the flipping process because I was alone at the time and it’s simply impossible to get a picture of it on my own! The end result is that the mat and cutting board you put on the top of the molds is now on the bottom. Remove the top mat and board, and let the curds drain for an hour.
Isn’t that lovely? After draining for a while, the curd level will start to go down considerably. I like to flip my cheeses every hour for the first four hours, and then every three hours after that. The total flipping/draining time is about 12 – 18 hours. Keep this in mind when you’re planning on starting to make this! I started late and ended up going to bed before my cheese was done flipping, but that wasn’t the end of the world. I woke up to this:
I flipped the cheeses again and sprinkled 1/2 teaspoon of kosher salt evenly over the tops while they were still in the mold. These need to hang out on the draining board for 12 hours, after which time we flip them again and salt the other sides with the same amount of salt. Once again, the cheeses hang out at room temperature (preferably around 70°F) for 12 hours. You’ll start to see the sides of the cheeses pulling away from the molds.
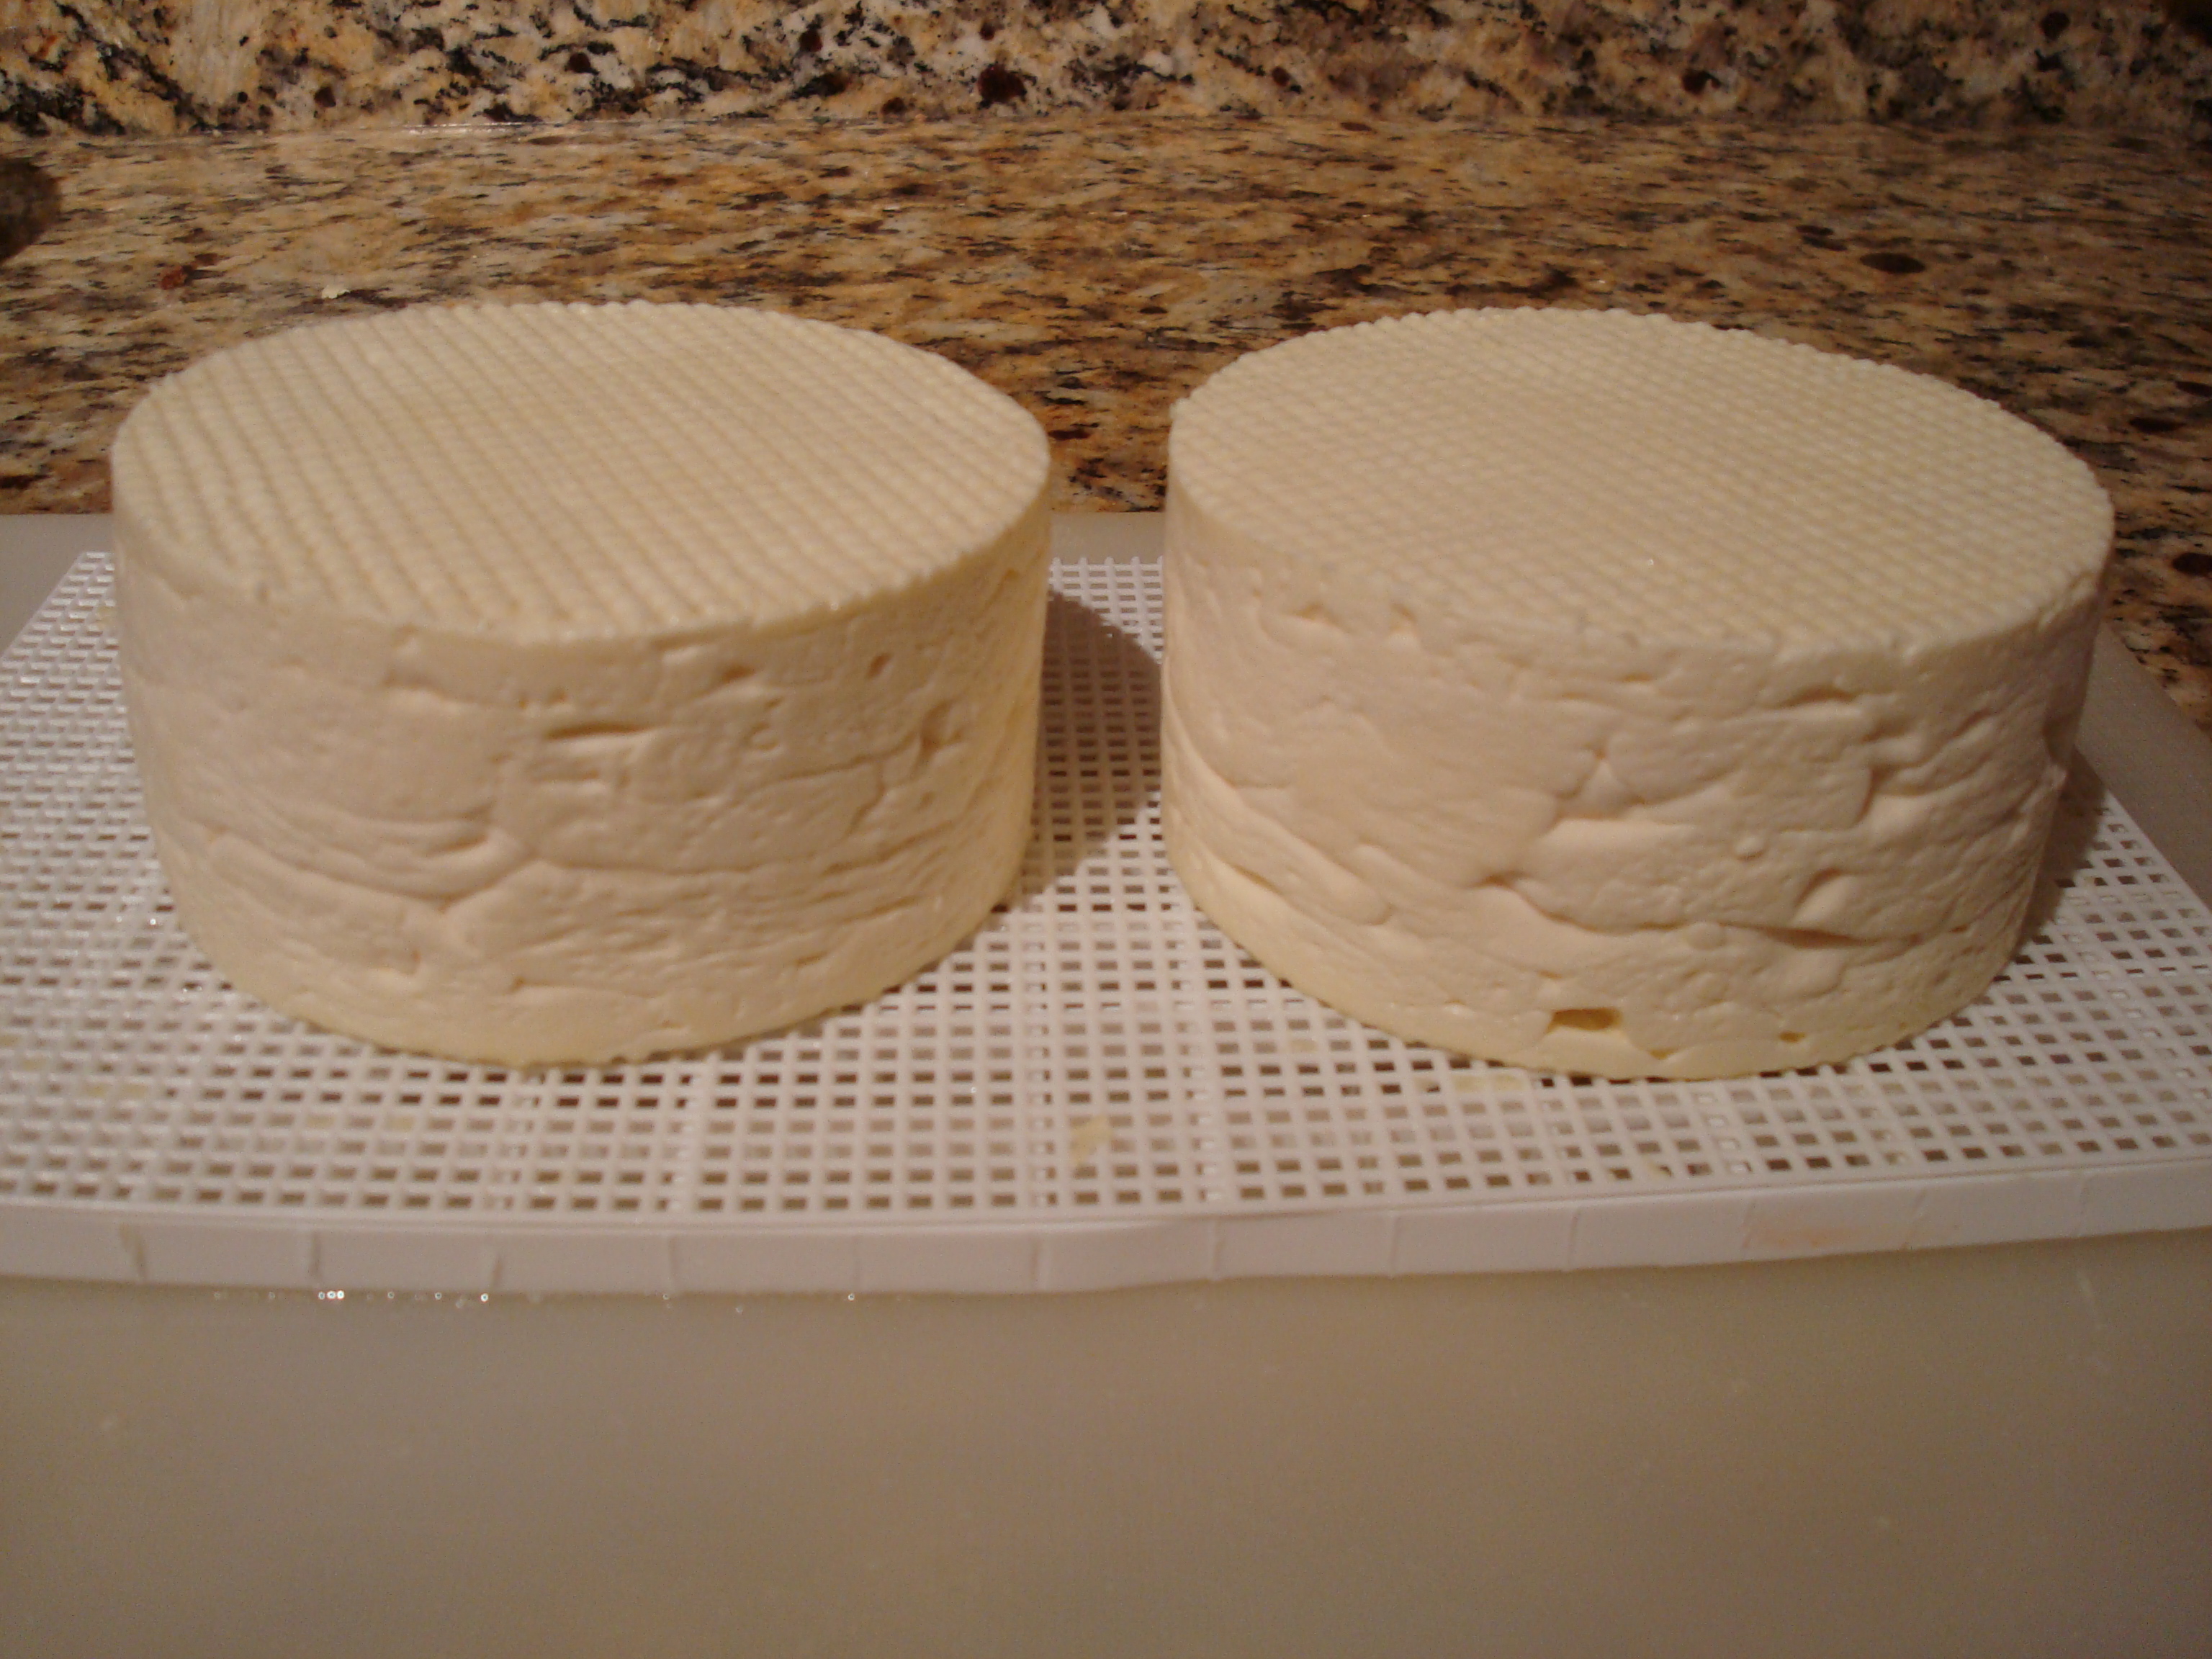
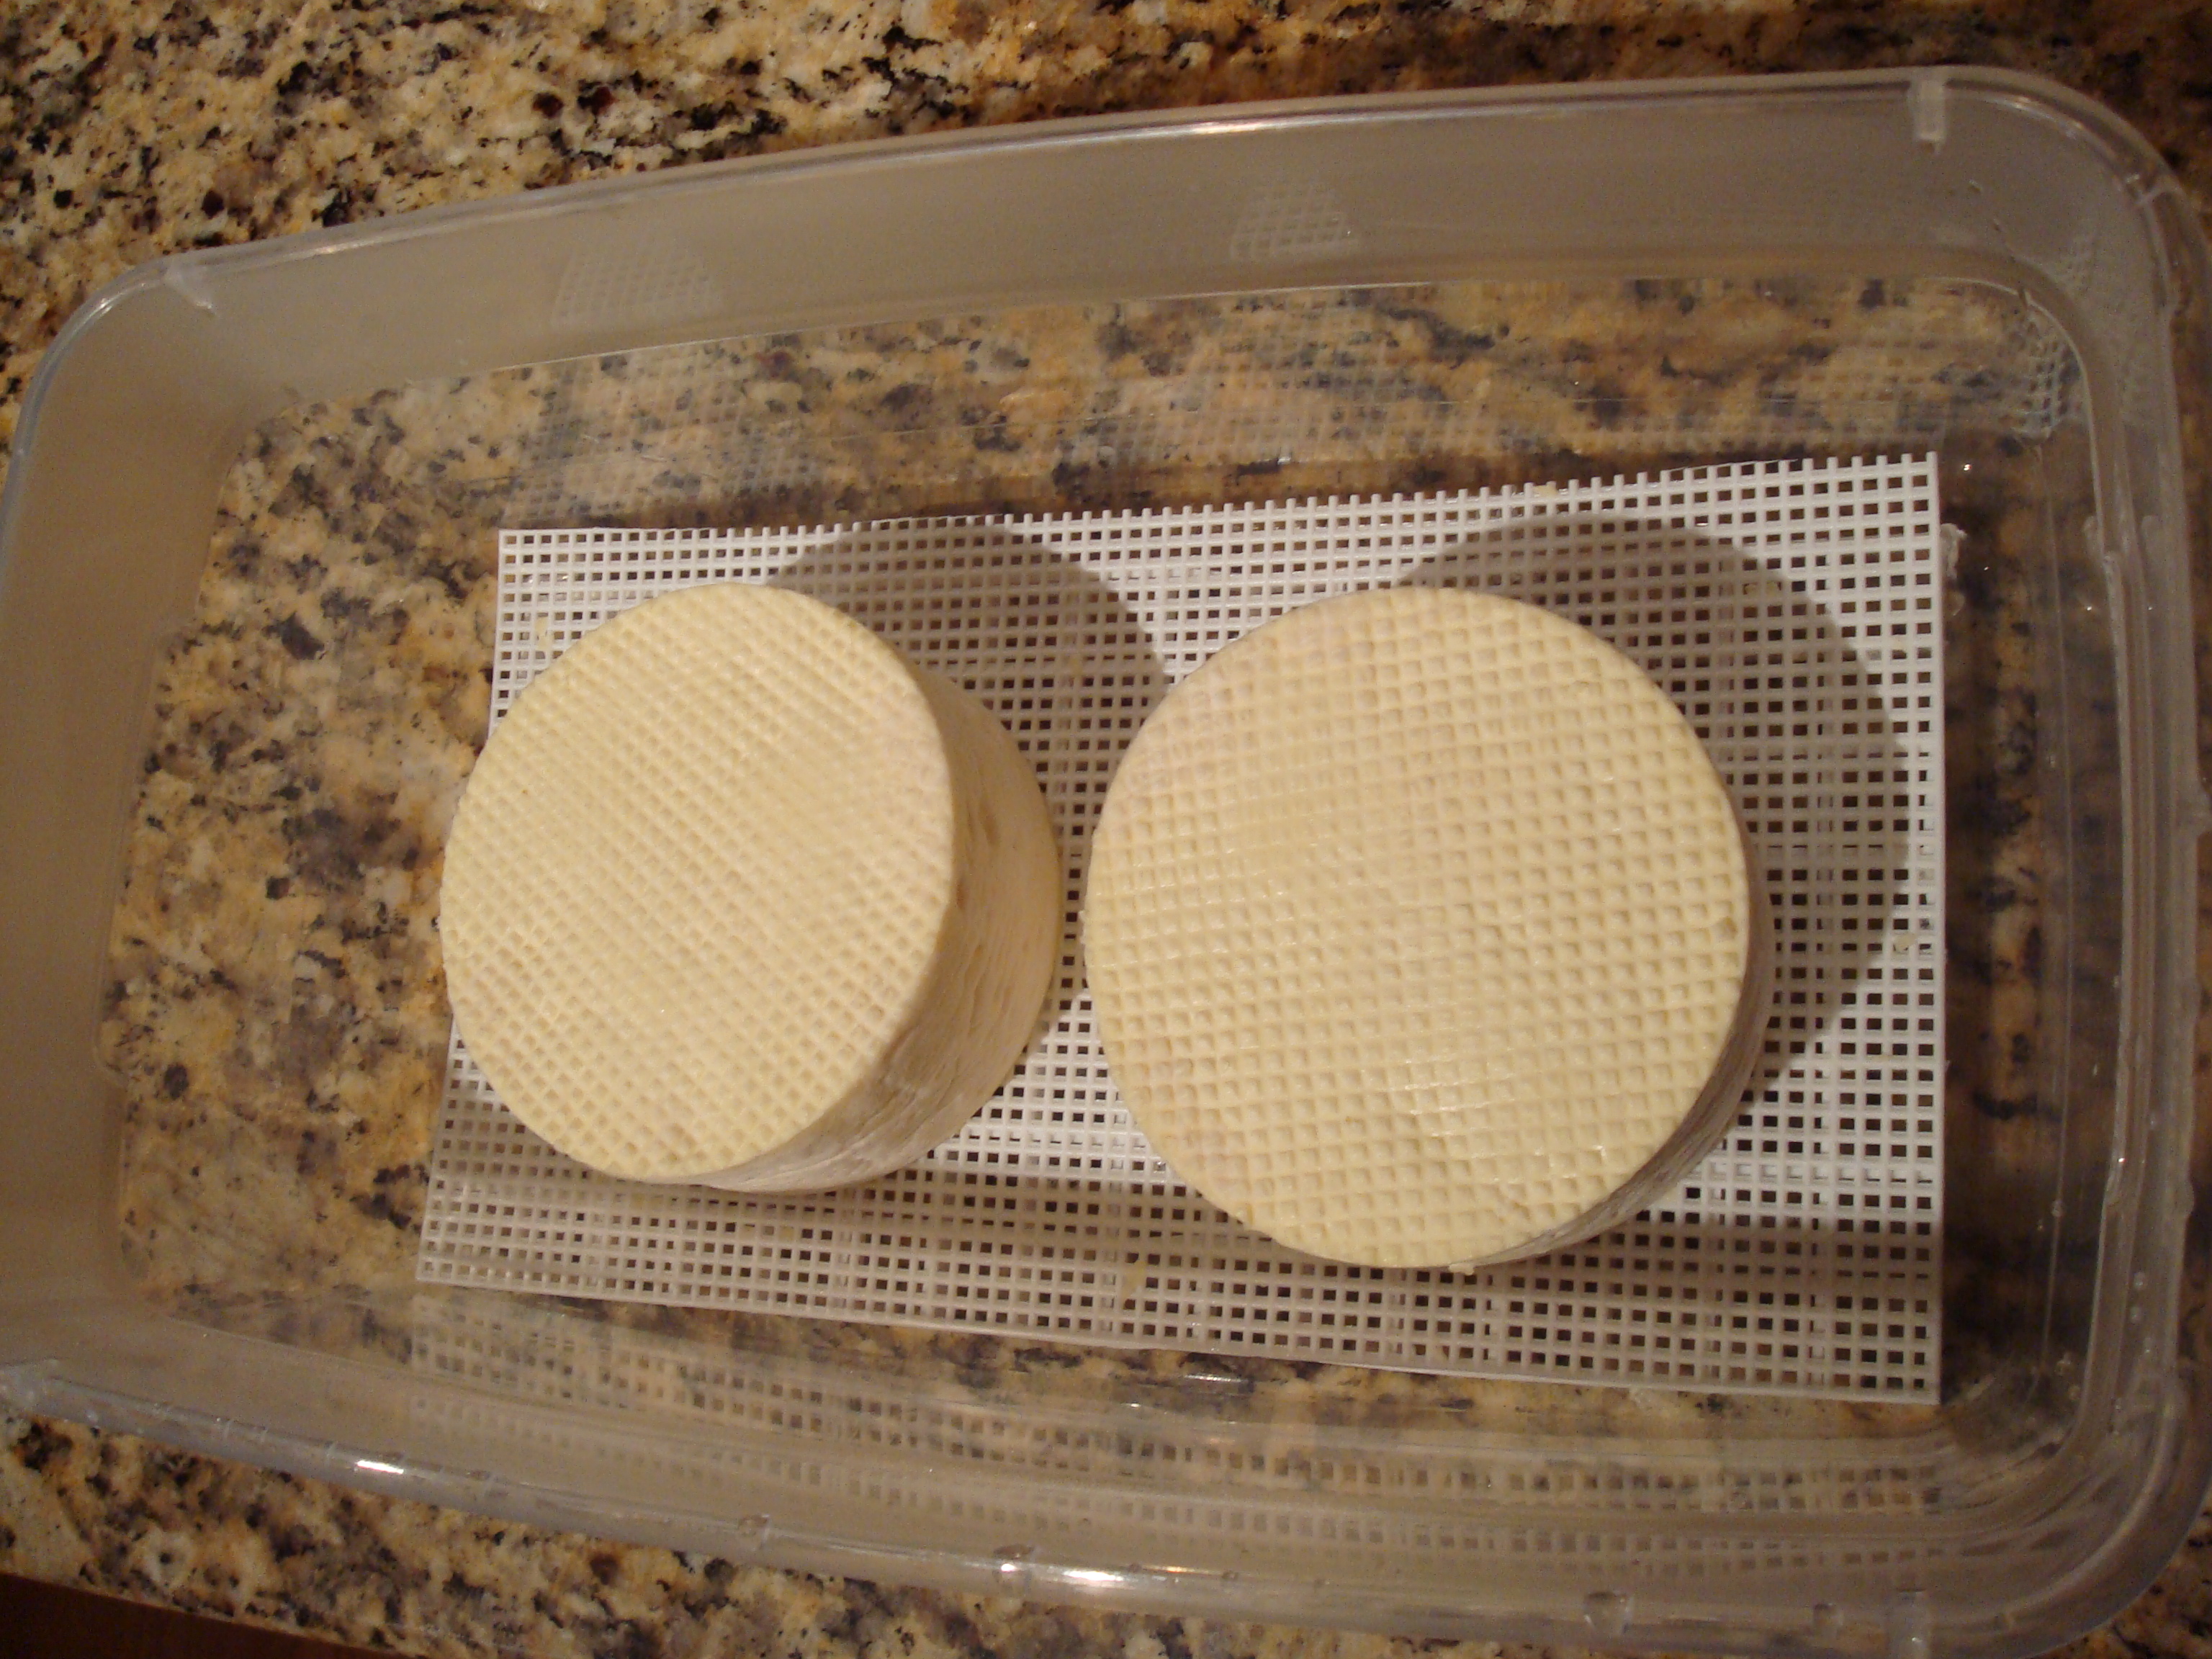
After they are done salting, un-mold the cheeses and let them hang out the rack until you see no more signs of moisture on them.
Once they are dry, it’s time to age them. I place them on a drying mat that sits on a raised platform in a plastic shoebox with a lid.
I put a little bit of water in the bottom, because we need to get the humidity level up to 90% in the box. Once I put the lid on, I place the entire container in my “cheese cave.” This is really just a very large styrofoam container that I picked up from the recycling bin at work. I place several ice blocks next to the container, and this brings the temperature down to about 50F. The cheeses will need to stay at this temperature for the next two weeks or so. During that time, it is very important to flip the cheeses at least once a day. This will ensure that they ripen evenly and that you don’t get the dreaded “slip skin” that plagues us home cheesemakers.
That’s it for the pictures so far, but I will update this post as the cheese ages. In about ten days, the white mold will start to bloom on the surface. Over time, this will turn slightly grey and it will be time to wrap the cheeses and put them in the fridge. They will need to age in the fridge for about six weeks until they are ready. It’s a long wait, but it’s totally worth it!
Baby Brie
1 gallon whole unhomogenized milk
1 dash (1/16 tsp) Mesophilic Culture 2
1 dash (1/16 tsp) Flora Danica culture
1 pinch (1/32 tsp) Penicillium candidum (Strain: VS)
1 smidgen (1/64 tsp) Geotrichum candidum (Strain: 17)
1/8 tsp 30% calcium chloride solution
1/8 tsp double-strength rennet diluted in 2 tbsp cold bottled water
Equipment needed:
2 4″ Camembert molds
3 strong cutting boards
2 cheese draining mats
Probe-style thermometer
Skimmer
Curd knife
Aging container
Platform for aging container
Thermometer + Hygrometer for aging container
- Sterilize the cheese pot and all accessories.
- Pour the milk in to the pot and heat it to 90°F.
- Add the calcium chloride to the milk and stir it in thoroughly.
- Sprinkle the cultures evenly over the surface of the milk. Let them bloom on the surface for 5 minutes.
- Stir in the cultures, then let the milk ripen for 1 hour
- Carefully stream in the diluted rennet and stir for exactly 20 seconds.
- Let the curds sit undisturbed for 90 minutes at 90°F.
- Cut the curds in to 1″ diamonds, then let them heal for 5 minutes.
- Gently stir the curds to break them up, then scoop them in to sterilized molds.
- Let the curds drain for 15 – 20 minutes, then scoop in more curds until the molds are filled up to the top.
- After another 15 – 20 minutes, flip the molds.
- Flip the molds every hour for the first four hours, then every three to six hours for 18 -24 hours total. The cheese should be about 1/3 of its original height at the end of draining.
- Flip the cheese one more time, then sprinkle 1/2 teaspoon salt over each cheese. Allow the cheese to sit on the draining mat for 12 hours.
- After 12 hours, repeat the previous step.
- Once both sides of the cheese have been salted, remove the molds and allow them to dry completely.
- Put the cheeses on an elevated rack in a sterilized aging container.
- Add the container to the cheese cave, making sure the inside of the cheese container is at 50°F and 90 – 95% humidity.
- Thoroughly wash your hands and flip the cheeses one or two times daily for ten days.
- Once the cheeses have grown their white mold coat evenly, place the entire aging container in the refrigerator.
- Flip the cheeses daily for four to six weeks, depending on preference.
Yield: 2 4-inch cheeses

